SpringBoot与Jackson
SpringBoot与Jackson
介绍
在Spring Boot中,与Jackson的整合非常简单,因为Jackson是Spring Boot的默认JSON处理库。以下是Spring Boot与Jackson的整合步骤:
- 添加依赖:Spring Boot已经内置了Jackson依赖,所以不需要额外添加。如果你的项目是基于Maven构建的,可以在pom.xml文件中看到以下依赖声明:
<dependency>
    <groupId>com.fasterxml.jackson.core</groupId>
    <artifactId>jackson-databind</artifactId>
</dependency>
- 自定义Jackson配置:如果你需要对Jackson进行自定义配置,可以创建一个配置类并注入
Jackson2ObjectMapperBuilderbean。示例代码如下:
@Configuration
public class JacksonConfig {

    @Bean
    public Jackson2ObjectMapperBuilder jackson2ObjectMapperBuilder() {
        Jackson2ObjectMapperBuilder builder = new Jackson2ObjectMapperBuilder();
        // 在这里进行自定义配置,例如日期格式化、空值处理等
        builder.dateFormat(new SimpleDateFormat("yyyy-MM-dd HH:mm:ss"));
        return builder;
    }
}
- 使用Jackson注解:在你的实体类中,可以使用Jackson注解来对JSON序列化和反序列化进行更精细的控制。例如,你可以使用
@JsonFormat注解来定义日期格式、使用@JsonProperty注解来定义属性名称等。
通过以上步骤,你就可以使用Jackson作为默认的JSON处理库,并进行必要的自定义配置和注解使用。
Demo
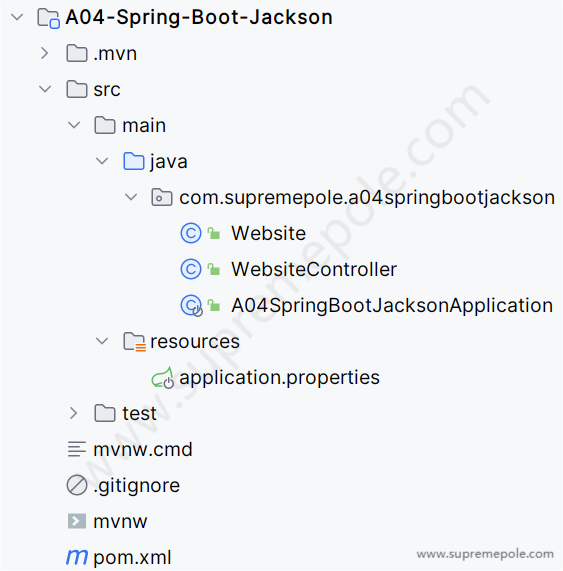
项目结构
源码
import org.springframework.boot.SpringApplication;
import org.springframework.boot.autoconfigure.SpringBootApplication;

@SpringBootApplication
public class A04SpringBootJacksonApplication {

    public static void main(String[] args) {
        SpringApplication.run(A04SpringBootJacksonApplication.class, args);
    }

}
public class Website {
    private int id;
    private String url;
    private String name;

    public int getId() {
        return id;
    }

    public void setId(int id) {
        this.id = id;
    }

    public String getUrl() {
        return url;
    }

    public void setUrl(String url) {
        this.url = url;
    }

    public String getName() {
        return name;
    }

    public void setName(String name) {
        this.name = name;
    }
}
import org.springframework.web.bind.annotation.GetMapping;
import org.springframework.web.bind.annotation.RestController;

@RestController
public class WebsiteController {
    @GetMapping("/website")
    public Website website(){
        Website website=new Website();
        website.setId(1);
        website.setName("supremepole");
        website.setUrl("https://cs.supremepole.com");
        return website;
    }
}
server.port=8081